1
/
of
1
Elfa
Shelf Pins-white Pack of 10
Shelf Pins-white Pack of 10
Regular price
€4.10 EUR
Regular price
Sale price
€4.10 EUR
Unit price
/
per
Taxes included.
Couldn't load pickup availability
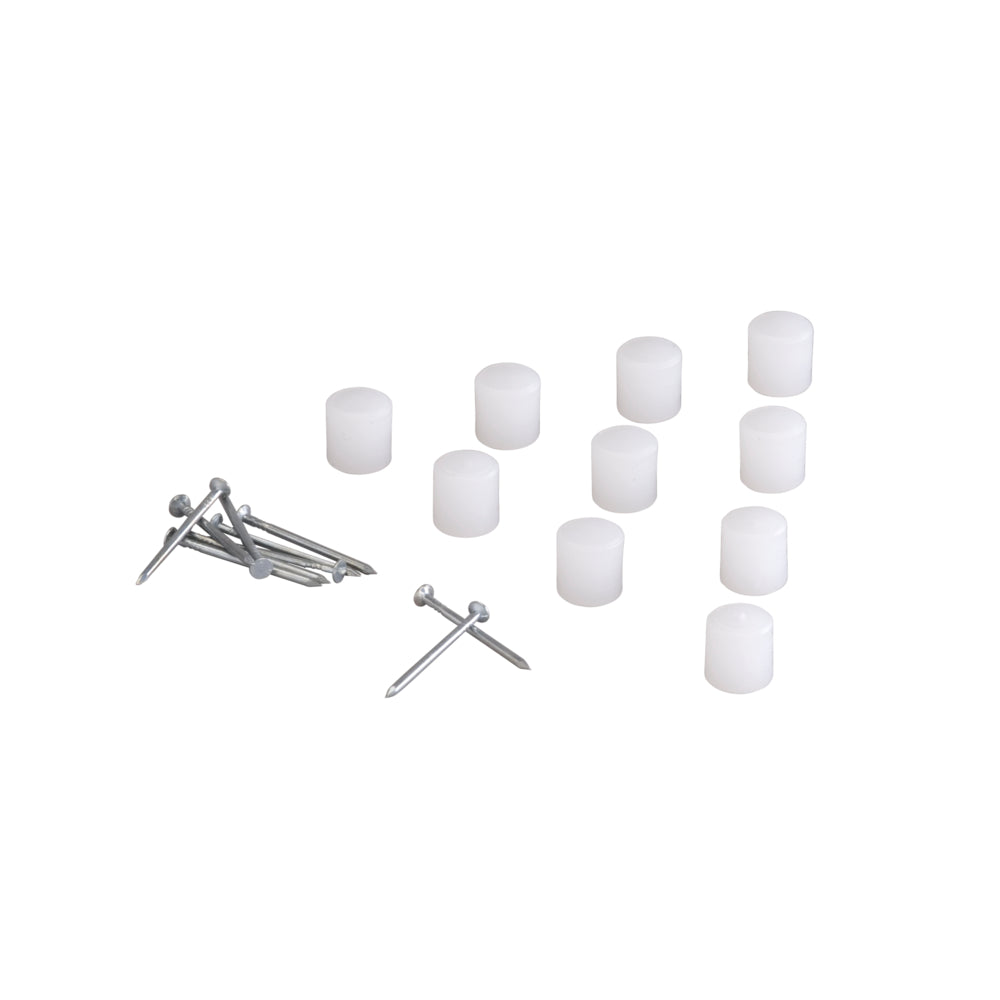
Keep your solid shelves securely in place with our shelf pins. The pins are easily hammered into the underside of a solid shelf and are then placed into a bracket for solid shelf, providing reliable and stable support. Come in a 10-pack.
- Ensure that your solid shelves stay securely in position.
- Simple to hammer into the shelf and place in bracket for solid shelf.
- Come in a 10-pack.
ColorWhite
Width (mm)8
Depth (mm)8
Height20
Technical description
Pin to be hammered into place on the underside of a solid shelf and to be placed in bracket for solid shelf. Holds the shelf in position. Come in a 10-pack.
The package includes:
* 10 plastic plugs
* 10 nails
The package includes:
* 10 plastic plugs
* 10 nails
Planning rules
A set of shelf pins has 10 units (nail and plug). Since each shelf should be attached back and front in both brackets, the set is sufficient to mount 2,5 shelves.
You need the following top assemble: Hammer, thin pencil.
Before you start: Mount the wallbands and brackets. Place the solid shelf onto the brackets in the intended position. Using a small/thin pencil, mark where to attach the shelf pins to the shelf through the screwholes in the bracket.
Step 1: Place the solid shelf upside-down on a non-sentivive surface and hammer in the shelf pins, by placing the plastic plugs over the marked positions and hammering the nail through the plastic plug into the shelf.
Step 2: Turn the shelf around and place it into the brackets.
Share